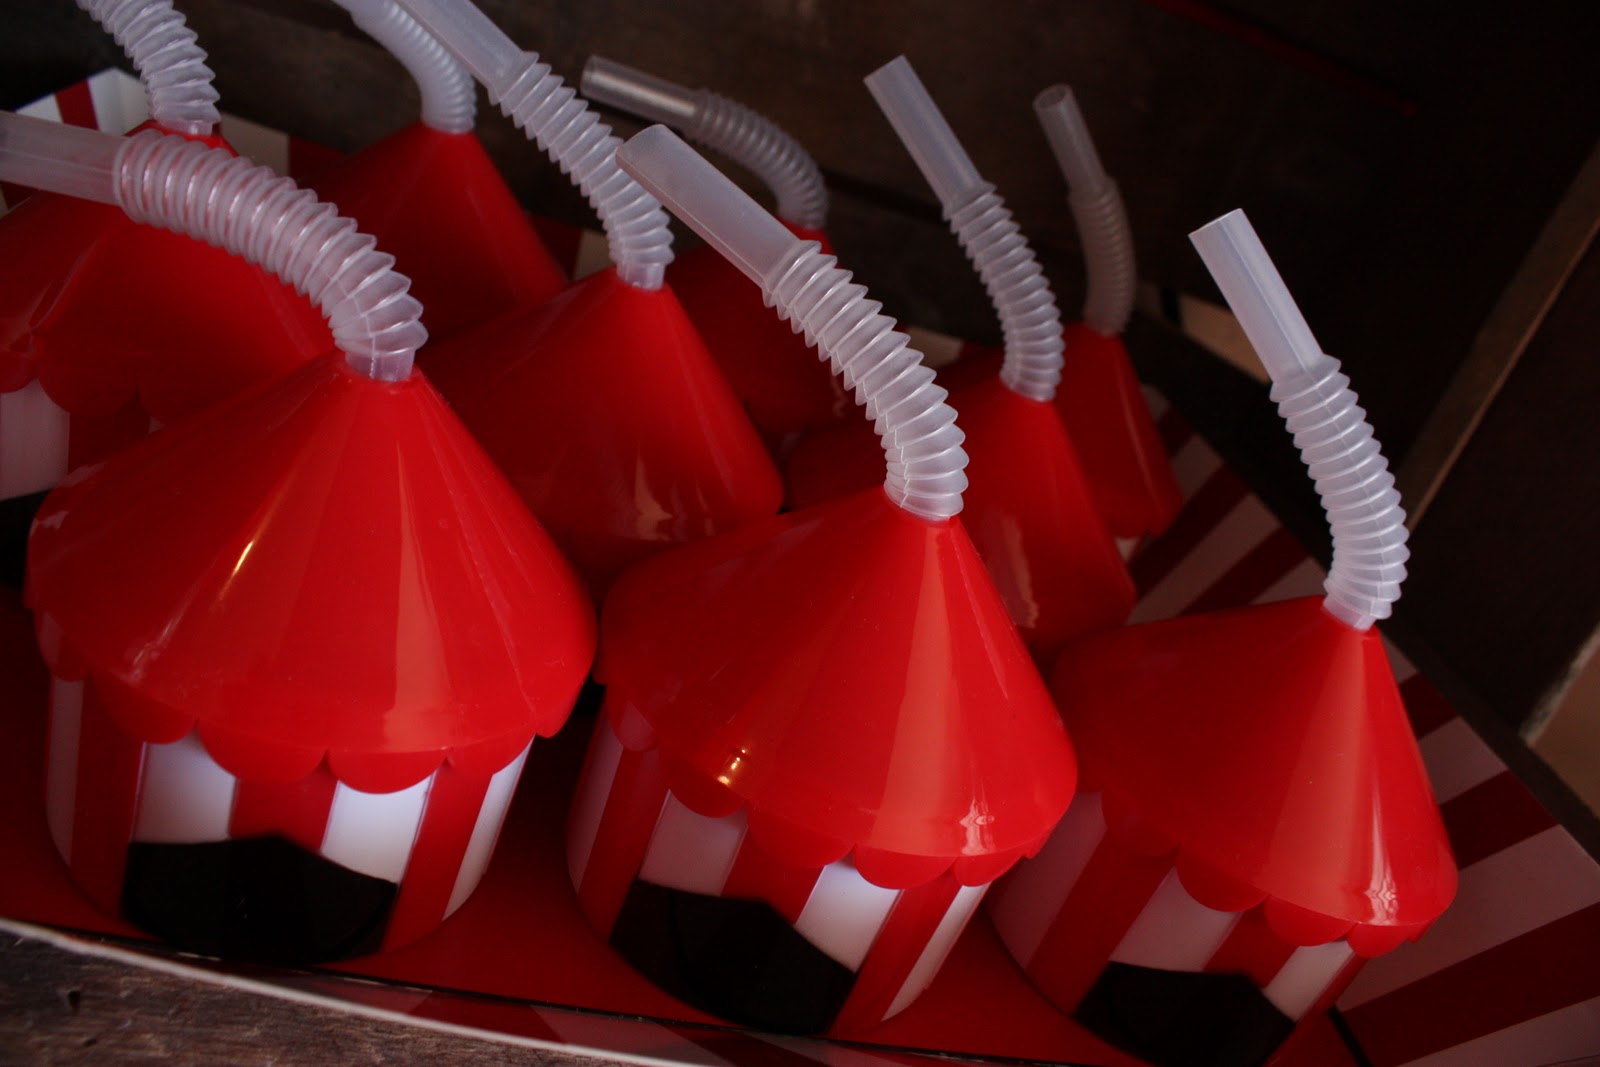
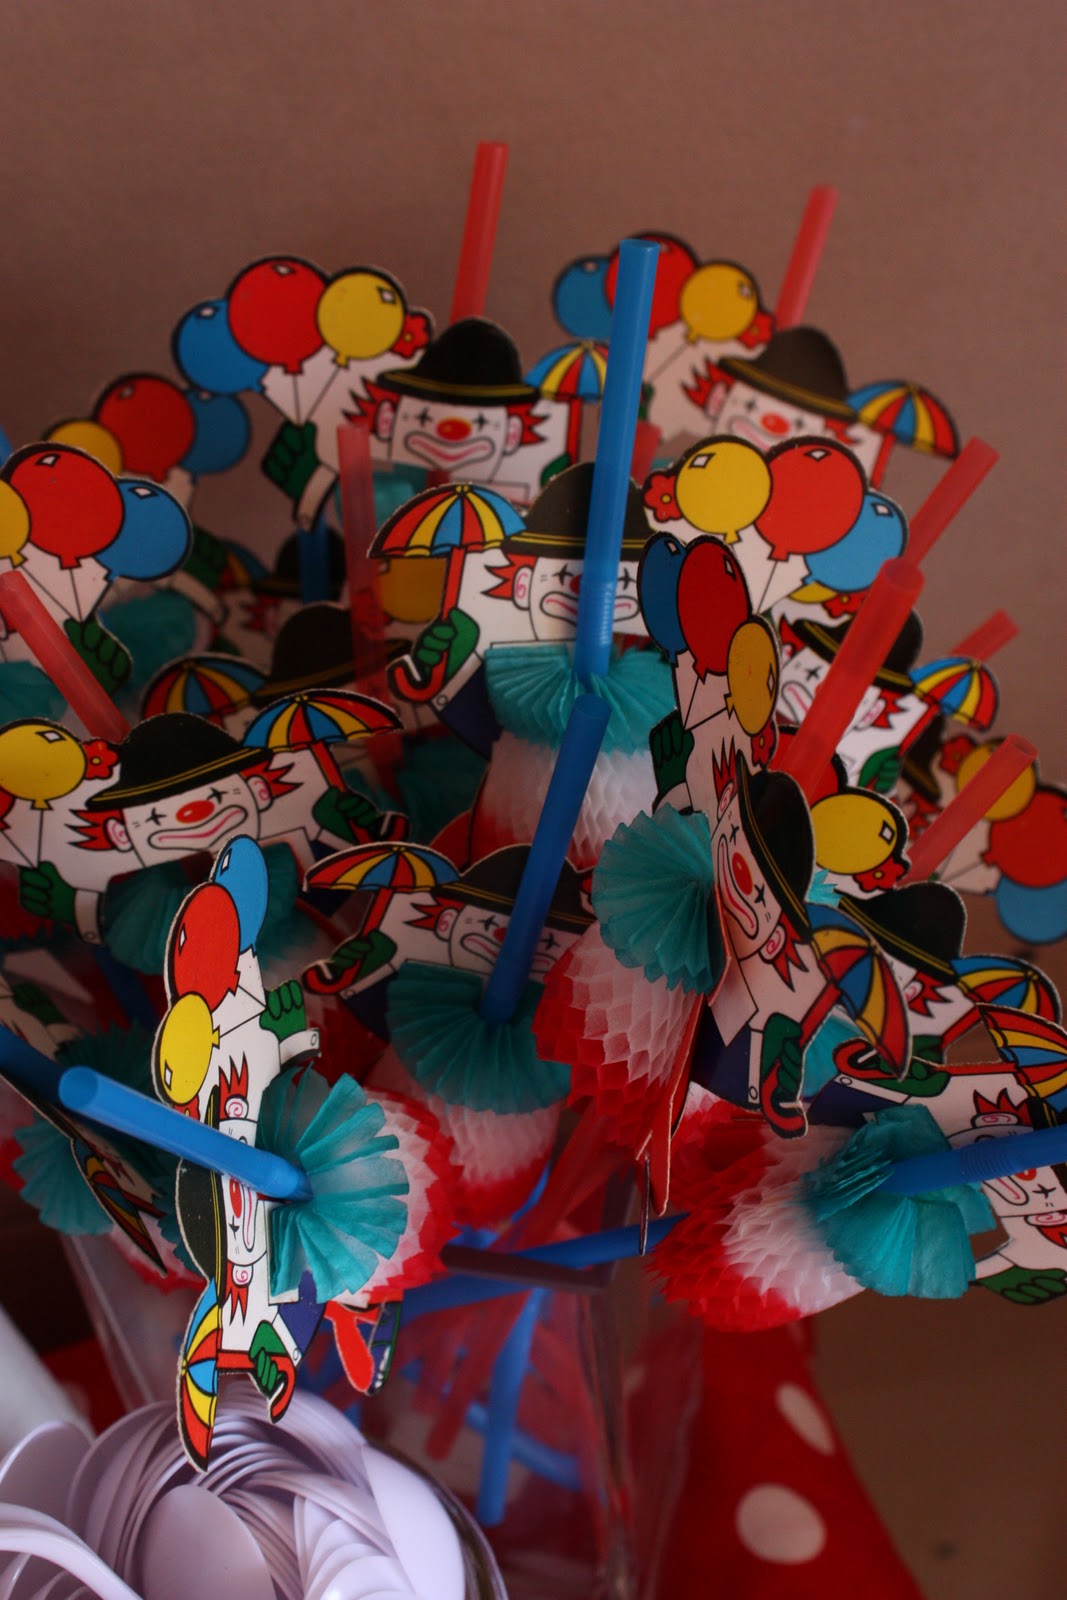
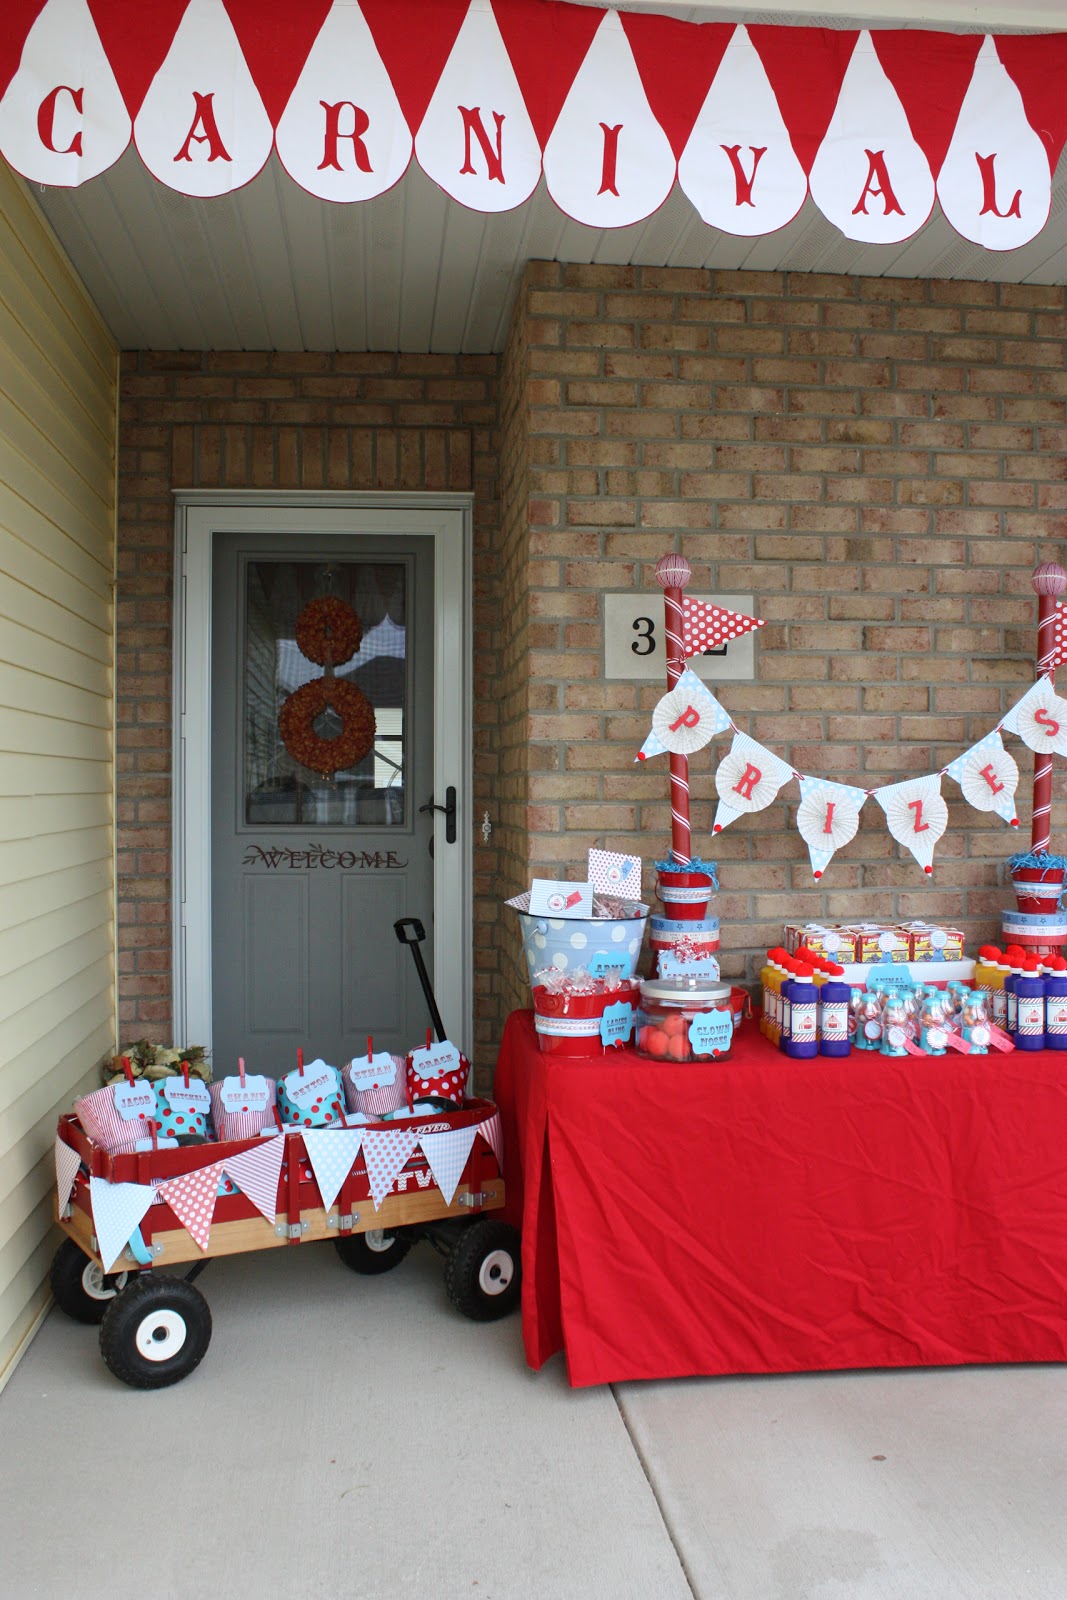
Today's feature from our carnival party - the prize area.
This was one of my favorite parts of the party! (As if all if it wasn't!) As I noted in the previous two posts about our party (
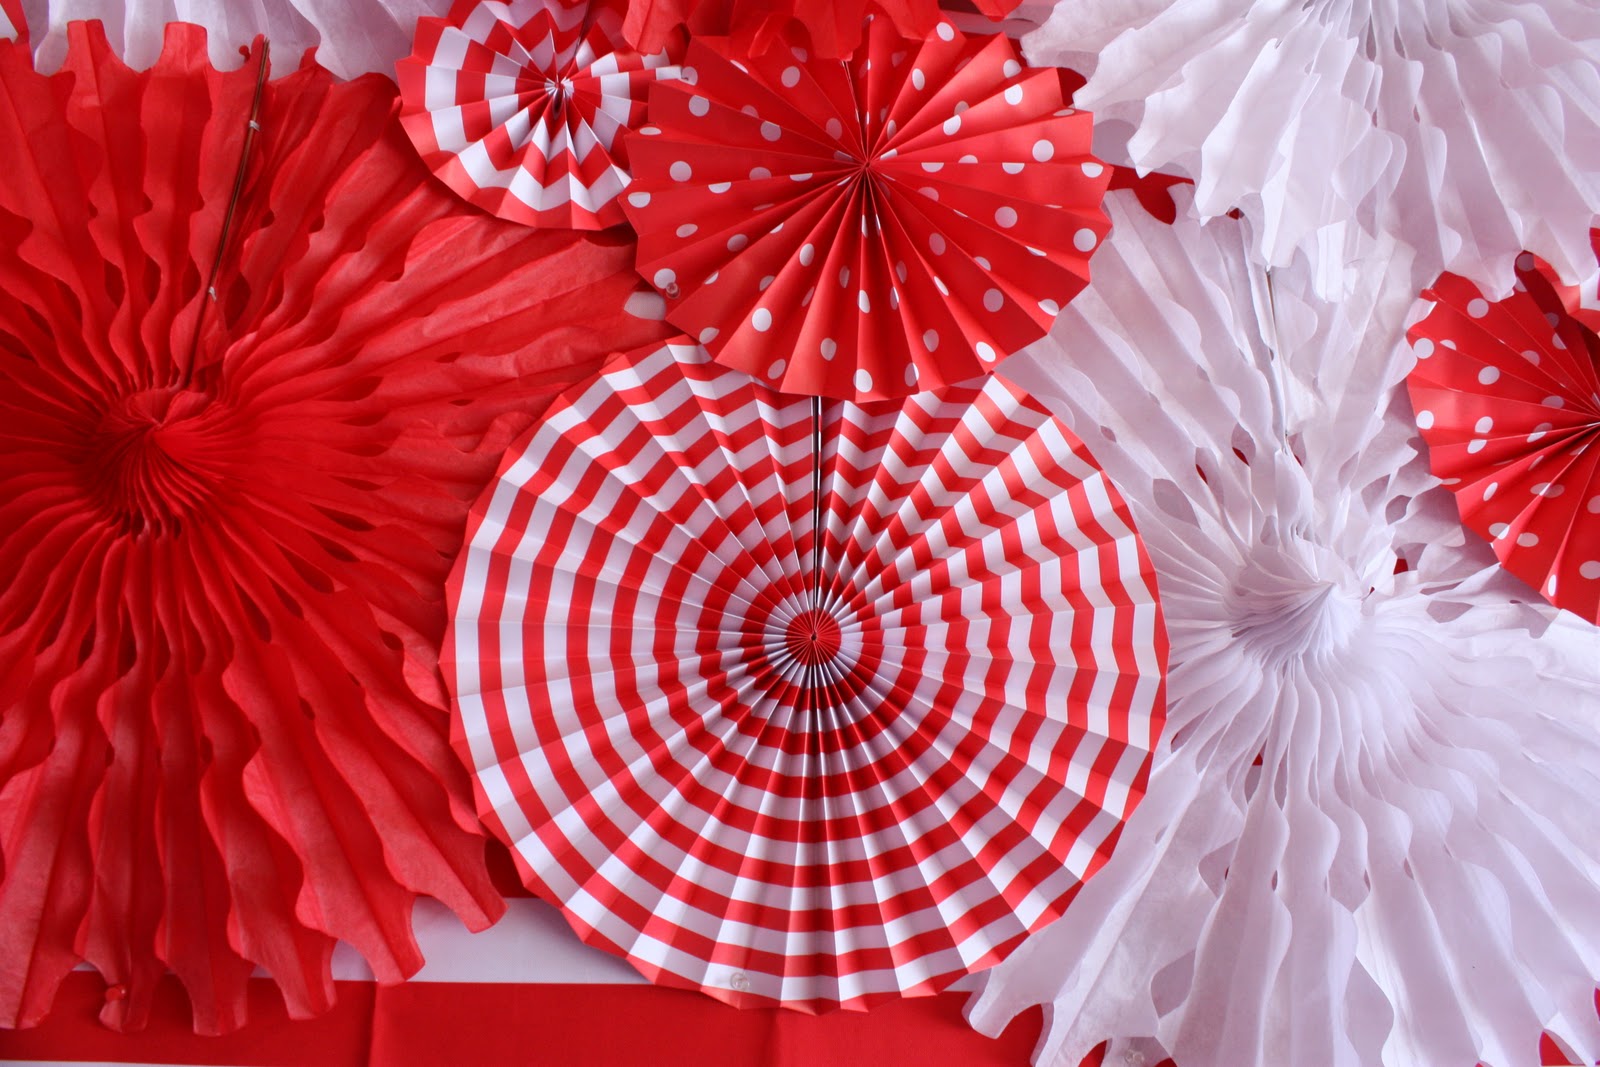
here and
here) I tried to incorporate variations of clown noses throughout the party. I used lots of red poms in all different sizes attached to almost everything :) I also used tickets wherever I could.
Rather than having the favors pre-packaged, I thought it would be fun for the kiddos to be able to fill up bucket of prizes (what else would you expect from the lady who's blog is named "Buckets of Grace" :). I found the MOST adorable buckets from
Brody and Ma on Etsy. Not only are they adorable, but Emily is fabulous to work with. She has the most gorgeous, vintage fabric and goes above and beyond for her customers.
I placed the buckets in our Radio Flyer wagon that I decorated with the small bunting from the printable package from
Dimple Prints. I attached a name tag to each bucket for the kiddos which I embellished with a red pom. I spray painted clothes pins to coordinate. Let me tell you - nothing was out of question to be spray painted for this party :)
For the prize table itself, I wanted to create a feel of a vintage carnival prize area. I decided to create a bunting using the pennants from the Dimple Prints package and made paper fans out of vintage scribe scrapbook paper. I used my Silhouette to cut out the word "PRIZES" and adhered the letters to the top of the fans. I love paper fans, but they sure are difficult to make.

I then wanted to make poles to resemble poles on top of a carnival tent. I happened to have a large fabric pole that worked perfect. I cut it in half, spray painted it red :) and wrapped it with striped ribbon. I then glued a pennant from the printable package to the pole. To top it off, I used the ribbon wrapped ornaments I had for our kids' Christmas tree I purchased from Pottery Barn a few years ago. This all worked and looked great until the wind hit. I hate wind as much as I do rain! Those poles must have blown down 5 times before my husband got sick of it and decided to anchor them with rocks! That's what having a "real" party is all about. The rocks sure detracted from my adorable set-up, but they won out over the wind!


As I noted in the previous post, I started planning for the party last year :) That may be crazy, but you sure can find lots of cute things and for good prices when you plan ahead. I knew I wanted to have prizes for the carnival games but didn't want to break the bank. My theory on prizes is that if you are going to buy the dollar aisle junk, you might as well save your money. If it's going to break after the kids get it home or find it's way to the bottom of a toy bin, don't buy it. With that in mind, what kid doesn't love bubbles? I found bubbles after last summer on clearance for 75% off. I know you can get them at the dollar store, but these were quality size bubbles! I asked the gals at
Anders Ruff to design a label for me to coordinate with the rest of their printable package I was using and adhered the labels to the bubbles. I then took a red pom and glued it to the top of the bubble cap - easy, inexpensive things to do just to add that special touch!

My kids LOVE gum! When I saw these gumball dispensers, I had to have them! The color matched perfect and they seemed to have that nostalgic carnival feel. I embellished the gumball dispensers with tags from the Dimple Prints printables and added a few tickets for good measure, tying it all together with my red and white baker's twine.
Of course, no carnival or circus party would be complete without animal crackers. We had a few younger kids at the party and these were a great prize for them as well. I took tickets, wrapped them around the boxes and then added a tag from the Dimple Prints printables.
One of the things I love to give away as favors are Christmas ornaments that match the theme of the party. My mom and grandmother started off my sisters and I with a tradition of giving us a Christmas ornament every year so that when we were old enough to have our own trees, we would have ornaments not only to decorate our trees, but to serve as memories of our childhood. I hope my kids look back on these ornaments and remember their birthday parties.
Last year, Kohl's happened to have a line of Christmas ornaments that were circus/carnival themed. I watched them like a hawk and when they finally went on clearance and I of course had a coupon (you never buy at Kohl's without it being on sale and having a coupon!), I snatched up all of the ornaments I could find - going store to store in our area :) Luckily, I found lots of them. I again attached a tag, this time from the Anders Ruff printables as well as a few tickets, tying it all together with the red and white baker's twine.
My kids go through a truck load of chalk each summer. And when we are stuck inside for the winter, they trade in the chalk for crayons. These were both inexpensive favors. I found an economy size bucket of chalk at Hobby Lobby, using a 40% off coupon (of course), packaged 4 pieces in a cello bag and topped it with paper from the Dimple Prints printables and tags from the Anders Ruff printables as well as a ticket.
For the crayons, I had Anders Ruff create a label to coordinate and put it on the crayons. I picked up the boxes of crayons at back-to-school time for $.25 a box!
For a fun prize, I placed clown noses in a jar for the kids to pick out. These clown noses were a hit!
For the boys, I found packages of Army Men on clearance. Ethan loves playing with "guys" lately. I guess it is a boy's version of Barbies (shhh... don't tell them that :). For the girls, I found some bling and lipstick pens. Of course I forgot to take pictures of those two things...
And finally, for the brand new babies in our family (3 in 2 months!) I found monkey rattles. They were adorable!
I hope the kids enjoyed their prize as much as I did assembling them and adding the "carnival touches!" Stay tuned for the next post featuring sweets table :) Thank you for looking!