Showing posts with label carnival. Show all posts

Wednesday, October 12, 2011

Carnival Party Part VII - Carnival DIY Decor

My last post of our carnival extravaganza!  First, I want to say a HUGE thank you to three of my absolute favorite party girls for featuring out party.  A HUGE shout-out to Amy at Blowout Party, Kristy at The Purple Pug and Michelle at Maddycakes Muse for spotlighting the party.  These are some of the NICEST ladies in the biz who keep it real and are a huge inspiration.  So thank you!

And now, on to the show.  The last post from the party features my DIY decor.  I think most of us party gals strive to be like her Highness Martha in some respects.  I'm no different.  If I can do it myself (even if it sometimes means more time and money) I welcome the challenge!  This party was no different.

I made centerpieces for the tables, but do it the wind, I had to stick them on a table that was out of the wind.
Stuck in the centerpieces were printables from the Dimple Prints package, pennants that were Christmas ornaments at Kohl's last Christmas, mustaches, "E" suckers, tickets, clown noses and pinwheels.  I used a container from the dollar aisle at Target I found this summer.

The letters spelling "Ethan" were originally pink from Hobby Lobby that I spray painted red.  Lots, and lots of spray paint was sacrificed for this party :)  Sadly, I dropped them when I was cleaning up for the party and they are no more :(


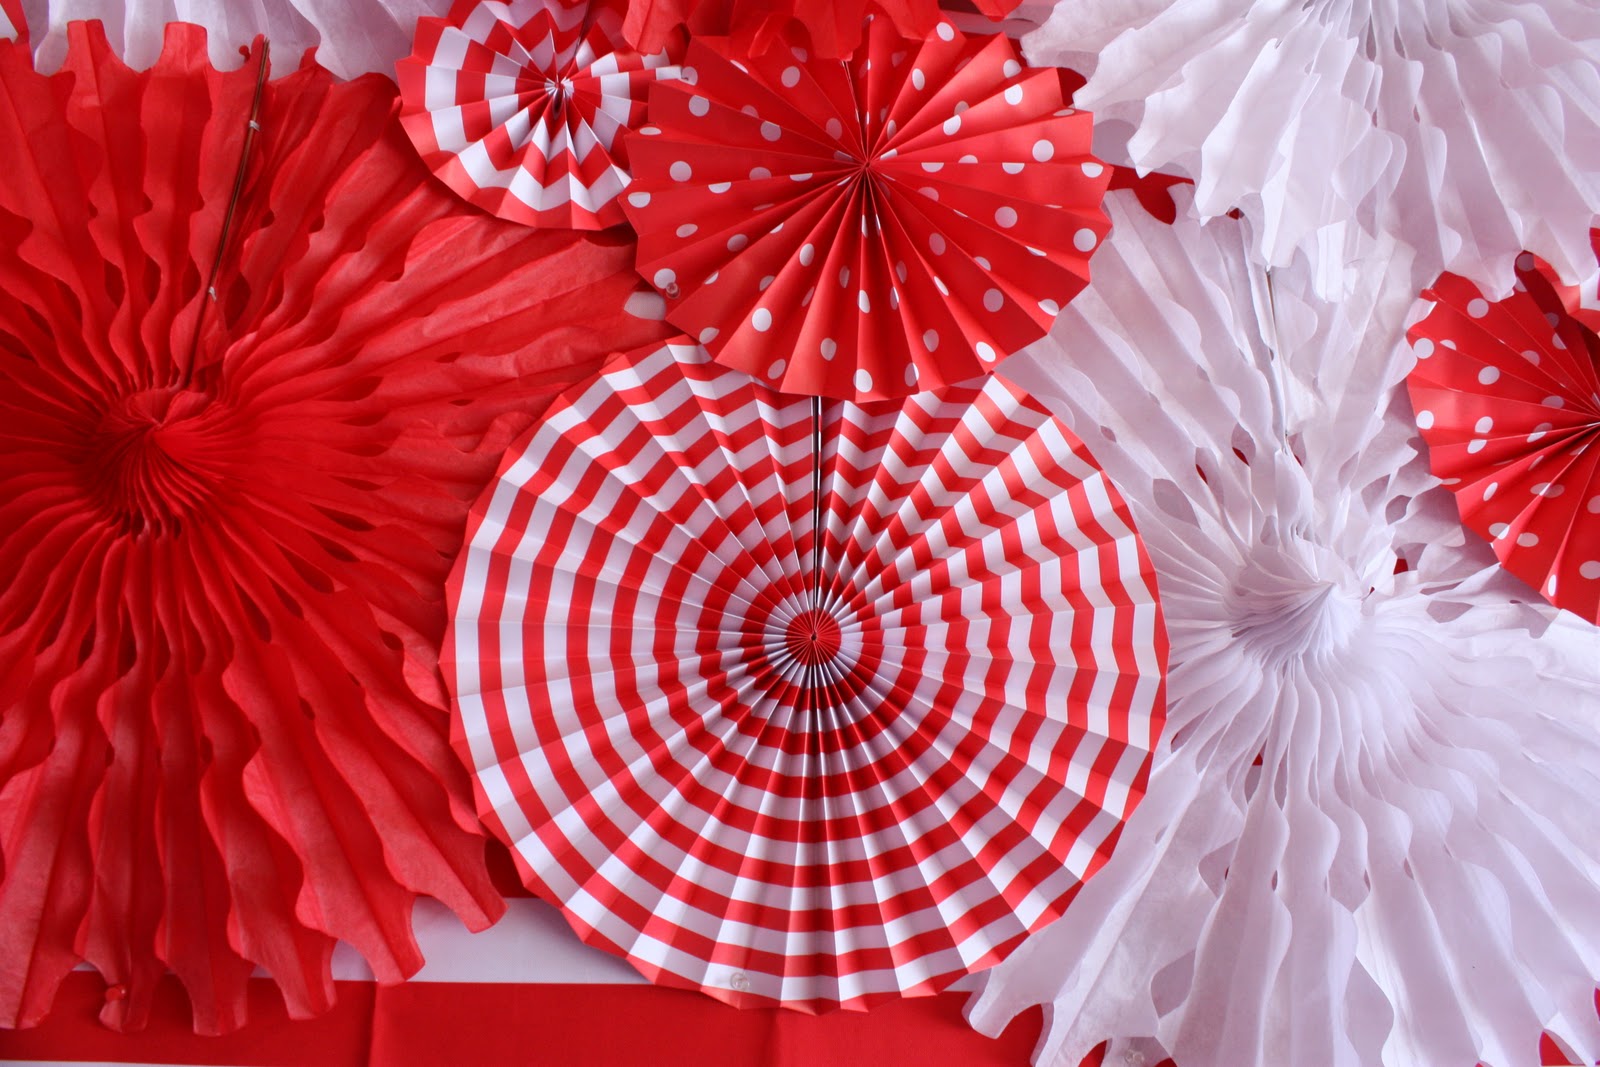
For the backdrop for the Nacho Bar table, I used paper fans from a 4th of July package from Party City and the paper fans I had left over from our Valentine's Day breakfast.
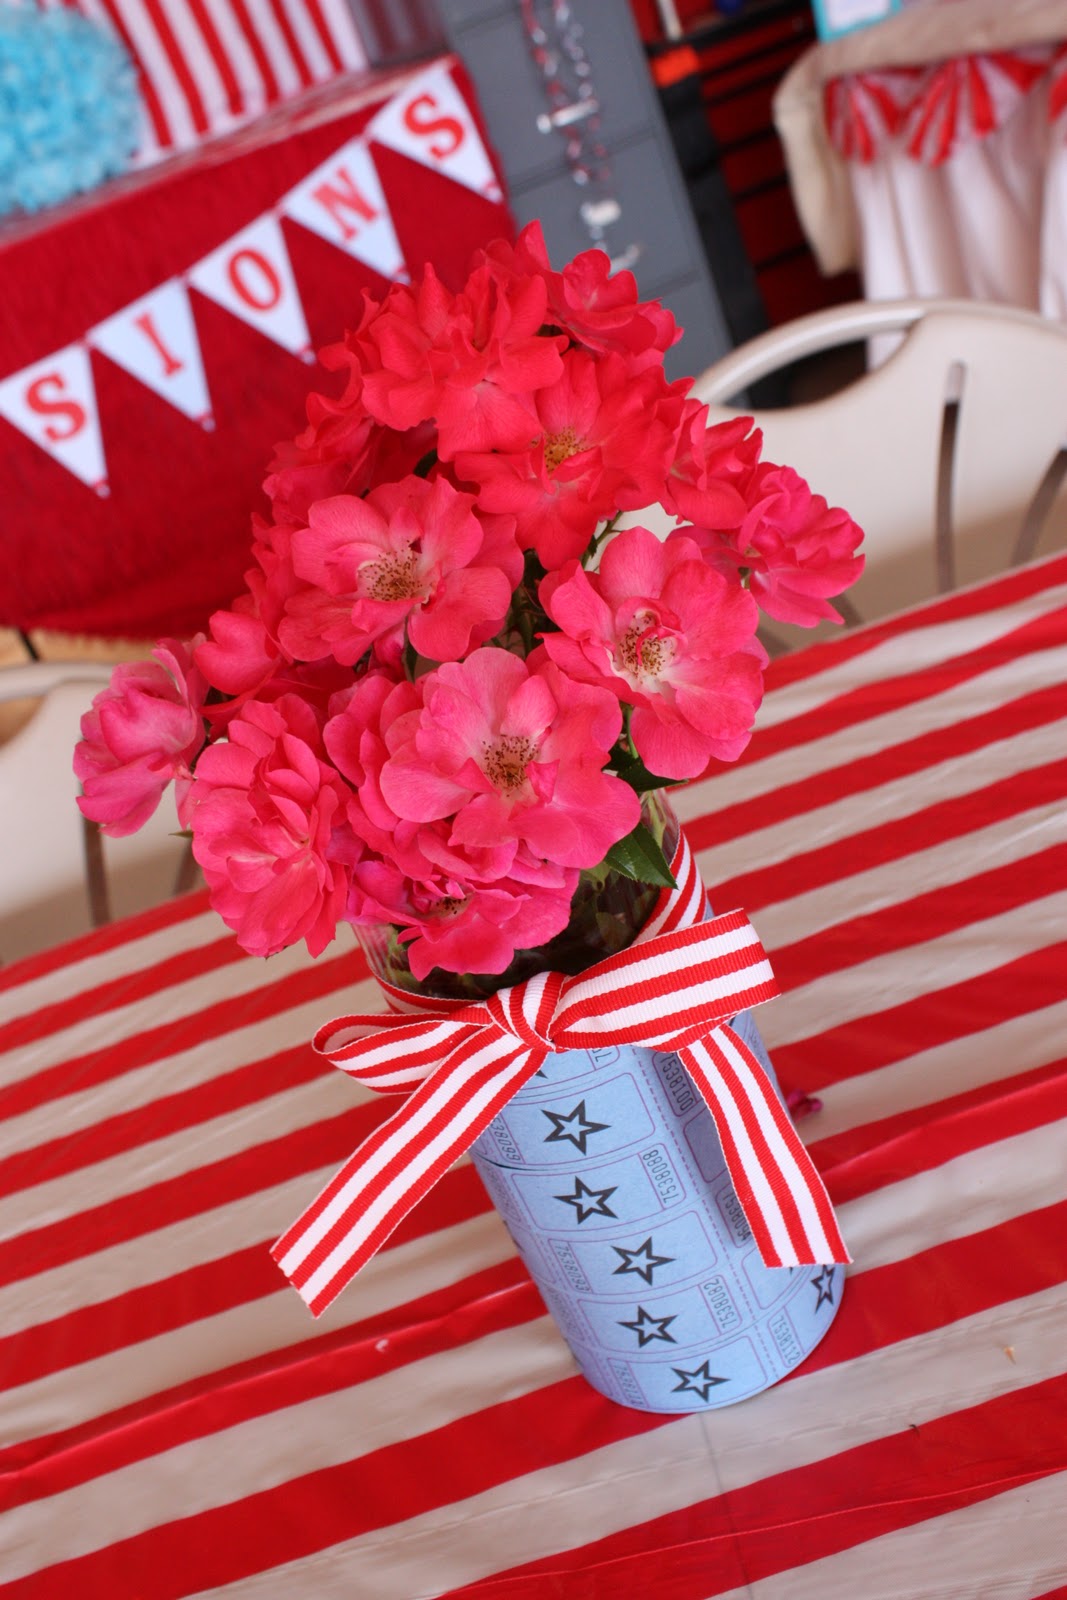

Using glass vases I already owned, I took tickets and wrapped them around the vases, topped the vases with ribbon and added some roses from our gardens.


For the backdrop for the gift table, I used the banner from the Dimple Prints printable package and added two of my favorite things of the party, the custom carnival poster my dear friend Betsy at Belly Feathers made for the party.  She is another of my favorite party girls :)

Finally, every year I make a poster for the kids, sticking to the party theme featuring one picture from each month of the year to show their interests, quirks and cuteness and how they've changed during the year.  My grand plan is to save the posters and use them at their graduations :)

I'll be honest, this party was a TON of work.  Starting a new job less than 2 weeks prior to the party made things a little more stressful.  But the smile on Ethan's face was so worth every late night getting ready.  I would do it again in a heartbeat!  Thank goodness birthdays only come once a year though!  Thanks for looking!

Sunday, October 9, 2011

Carnival Party Part VI - Fun and Games

I'm back...  Got side tracked a bit with life...  If only a day had 12 more hours in it :)  Two more posts left from Ethan's Carnival Extravaganza!  Up next to be featured - the fun and games of the carnival.

The centerpiece of the fun and games was the bounce house we rented.  ALL of the kids (even some big ones) had a great time in the bounce house.  If you are debating having one for your little one's party, I highly recommend it :)

I struggled with how I would "label" the games and set them apart from each other.  This spring, I found these really large pinwheels at Hobby Lobby and thought they may work for signs for the games.  I've had more requests for these large pinwheels than anything on this blog!  Hobby Lobby had them this Spring, and they sold out.  I don't know where you'd find them.

I used the invitation template from the Dimple Prints printable package and made signs for each game, hot glued the signs to the sticks and added red pom poms to keep with my subtle "clown nose" theme.  They worked perfect!


For the tin can toss game, I enlisted the help of Anders Ruff to make labels for the tin cans.  I printed them on a sticker sheet and cut them to size.


The grand finale of the party was the arrival of the Happy Ness Clowns.  My husband insisted I not get clowns as he guaranteed the kids would be scared.  Well, they weren't scared of these clowns!  They LOVED them (and so did I!).  Ethan had a great time getting his face painted like Spider Man and getting his Spider Man balloon. It was a great way to end the day!


One more post to come - the DIY decorations of the party :)

Tuesday, September 27, 2011

Carnival Party Part V - Food, Carnival Style

I'm back with the next feature from Ethan's Carnival Extravaganza - the yummy Carnival Style Menu.  Ethan's FAVORITE food is chips and salsa - I know, pretty normal for a four year old, right?  :)  I wanted to incorporate his favorites into the menu.  I thought that a build your own carnival nacho bar would be a great way to do that.  Here are some pictures of the Nacho Bar.


Here are a few pictures of some of the other tasty carnival style treats!


I have a few more things to feature from the party.  Stay tuned :)

Thursday, September 22, 2011

Carnival Party Part IV - Refrigerator Box Ticket Booth

What is a carnival without a ticket booth?  In planning for Ethan's carnival birthday party, I saw lots of cute ideas out there for making a ticket booth and was inspired to create my own :) 

Of course I did not want to break the bank on something I knew would be loved and abused during the party.  With this in mind, I figured a refrigerator as the base for the ticket booth would work great.  I called a local appliance store and asked for the warehouse to save me a refrigerator box.  Thankfully they were more than willing to do so :)

My first step was to turn the cardboard red. I decided to use spray paint.  Caution - if you use spray paint, make sure you get enough.  The three cans I originally purchased only went half way.  I was running to the store in the middle of the painting project :)  I ended up using about 5 and 1/2 cans of red spray paint. I would have spray painted the inside of the box to give it the finished look, but I couldn't justify another 5 cans of spray paint to do that :)


After the spray paint dried, I took white duct tape (duct tape comes in every color and tons of patterns!) and started applying it as stripes going up and down the front of the box.  I did not have the box assembled at this point, making it easier to do this with the box still lying flat on the ground.

Once the front of the box was "striped," I took a level and drew out with a pencil the shape for the "window."  Make sure you get it low enough for the little ones that will be handing out the tickets.  I then had my husband take a box cutter and cut out the window shape.


After the window was cut out, I took the cardboard letters that I had previously painted white and applied them to the box (still flat at this point).  I adhered the letters to the box with wood glue. 

For the "finials" on the top corners of the box, I used a pennant from the Dimple Prints carnival collection, adhered it to a small wooden stick and tied ribbon to the bottom part of the pennant.  I set those aside until the box was assembled.


The day before the party, my husband taped the box together, using red duct tape.  We cut a door in the back of the box, by cutting three sides of the "door."  I then took the pennants and taped them to the top sides of the box.

Add kids and presto - easy, DIY ticket booth.  By the end of the party, the ticket booth was barely standing.  The kids would have loved to have kept it, but it needed to be put to carnival pasture!


Next, I can't wait to show you our yummy carnival style menu!

Wednesday, September 21, 2011

Carnival Party Part III - Carnival Sweets

Up next on the list of featured items from our carnival party, a traditional favorite, the sweets table!  This table was so fun to do!


The centerpiece of the table was of course the beautiful cake from The Tasteful Cake, but also, my favorite Ung Drill frame from Ikea that I spray painted light blue.  I removed the glass, wrapped the cardboard backing with red and white polka dot and then attached with hot glue a cardboard "E" that I also spray painted blue.  Using my Dimple Prints printables, I made a mini-bunting to drape across the E.


The "drapes" for the background were two $5 tablecloths I found at Target this summer.  I love using tablecloths and shower curtains for table backdrops!  The "drape" "tie-backs" was also from the Dimple Prints printables - a small bunting.  The balloons are from Oh Goodie Designs. 


The topper for the cake was a wire "Ferris wheel" I found at JoAnn's during the Easter season.  I'm pretty sure it was meant to hold Easter Eggs.  It was yellow and blue when I found it.  I spray painted it red, added some bunting and gumballs and magic - a carnival themed cake topper!  I love how the cake that Melissa from The Tasteful Cake turned out!  She is so talented and can make a gluten-free cake taste delicious!

These adorable cookies are from my my gal, Christine of Happy Cookies.  Not only are the adorable, but they are absolutely delicious!


I tried my hand at the cake pops.  I've made them before and had better luck.  Not sure why I had so much difficulty with them this time.  I added tickets as flags to the sticks to continue with the "ticket" theme.


In planning for this party, I stumbled across Vintage Confections.  Oh my goodness - these custom lollipops did not disappoint.  As delicious as they were adorable!  I know its not as pretty for the picture with the bags on the lollipops, but I didn't want them to attract the flies and bees :)


For the cupcakes, I found the cute clowns at Fancy Flours.  I then made the paper fan cupcake toppers, adding the tickets and the red poms.


Here are some shots of the rest of the sweet goodies on the table :)


Thanks for looking!  Up next - how to make a DIY Refrigerator Box Ticket Booth!