Showing posts with label First Communion. Show all posts

Saturday, April 28, 2012

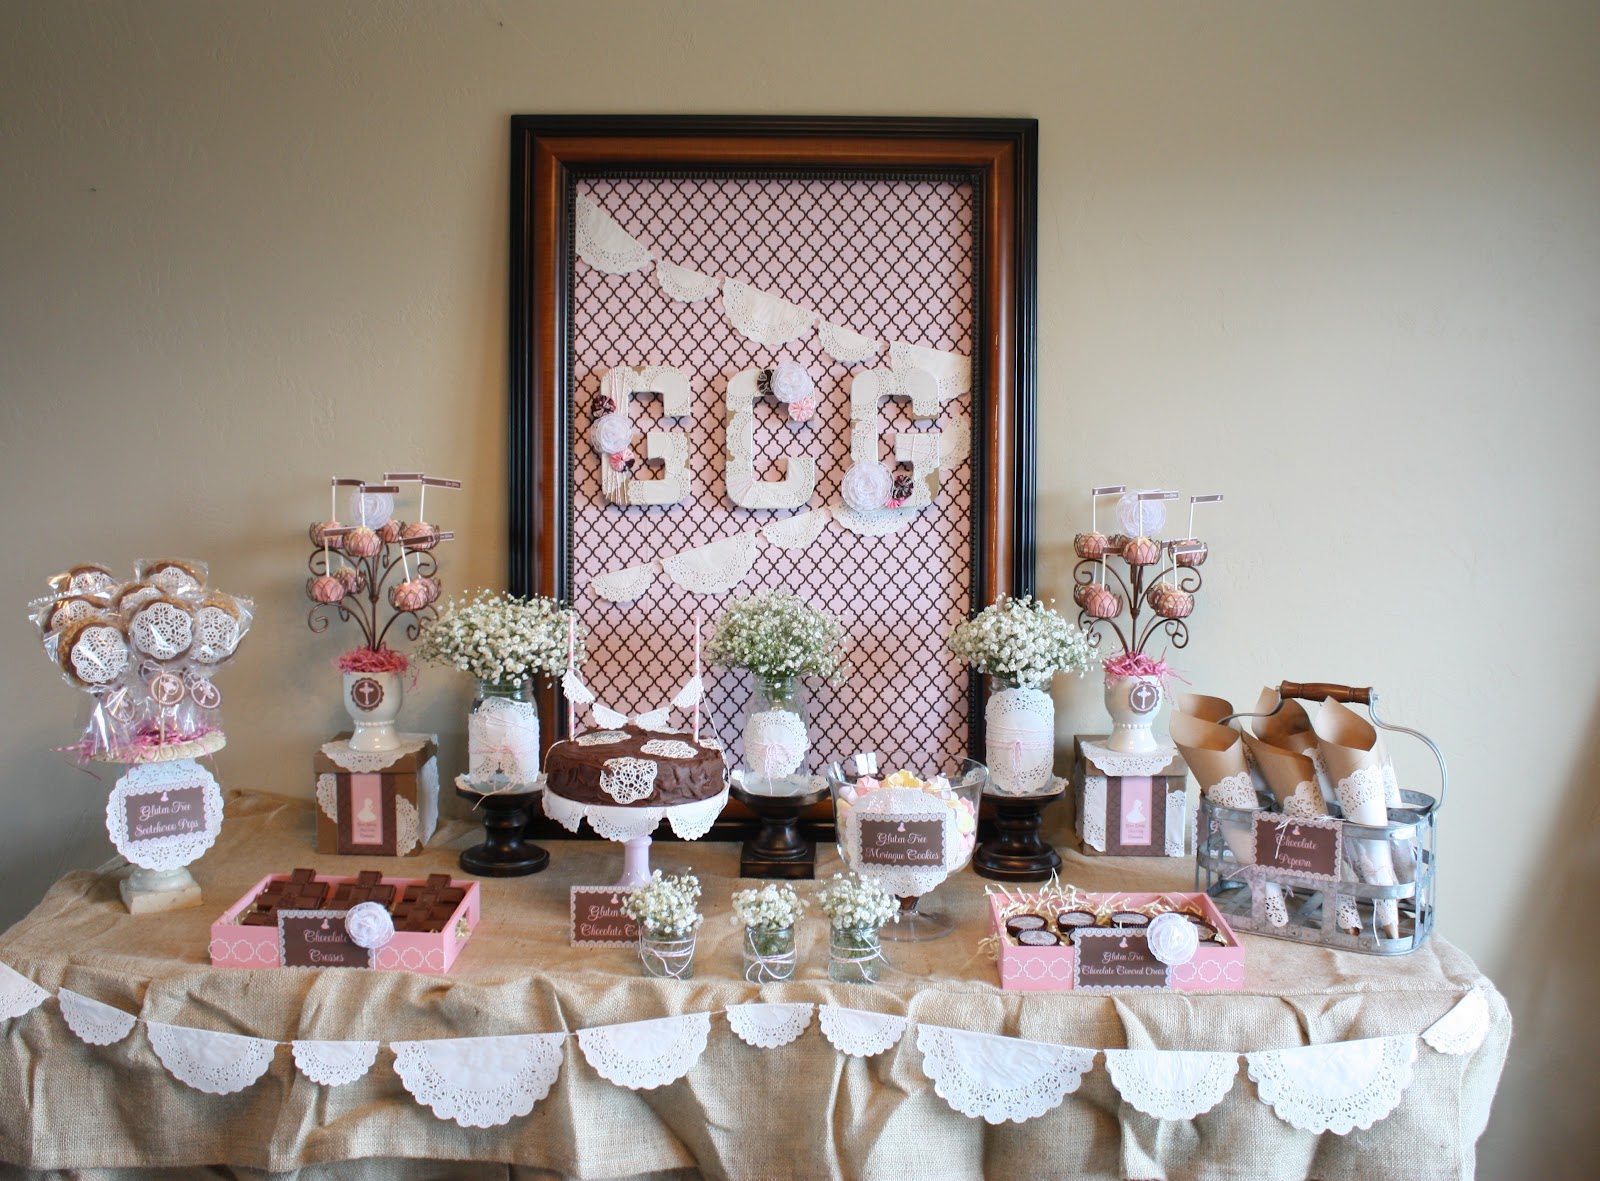
Shabby Chic First Communion/8th Birthday - Sweets Table

The last of the features from Grace's 1st Communion / 8th Birthday Party is our sweets table.  This table was so fun to put together and was done on a budget, using things I've owned and making most of the treats myself.  I just want to add an editorial here...  I know that labeling food items is yesterday's trend.  However, in our family, (including me) we have several Celiacs.  For us, labeling food items is not whether it is on trend, but necessary to avoid food issues.  Hence, my table has labels :)  (And I think they are pretty cute anyway!)

All printables are from Carli at Dimple Prints.  I love, love, love them!


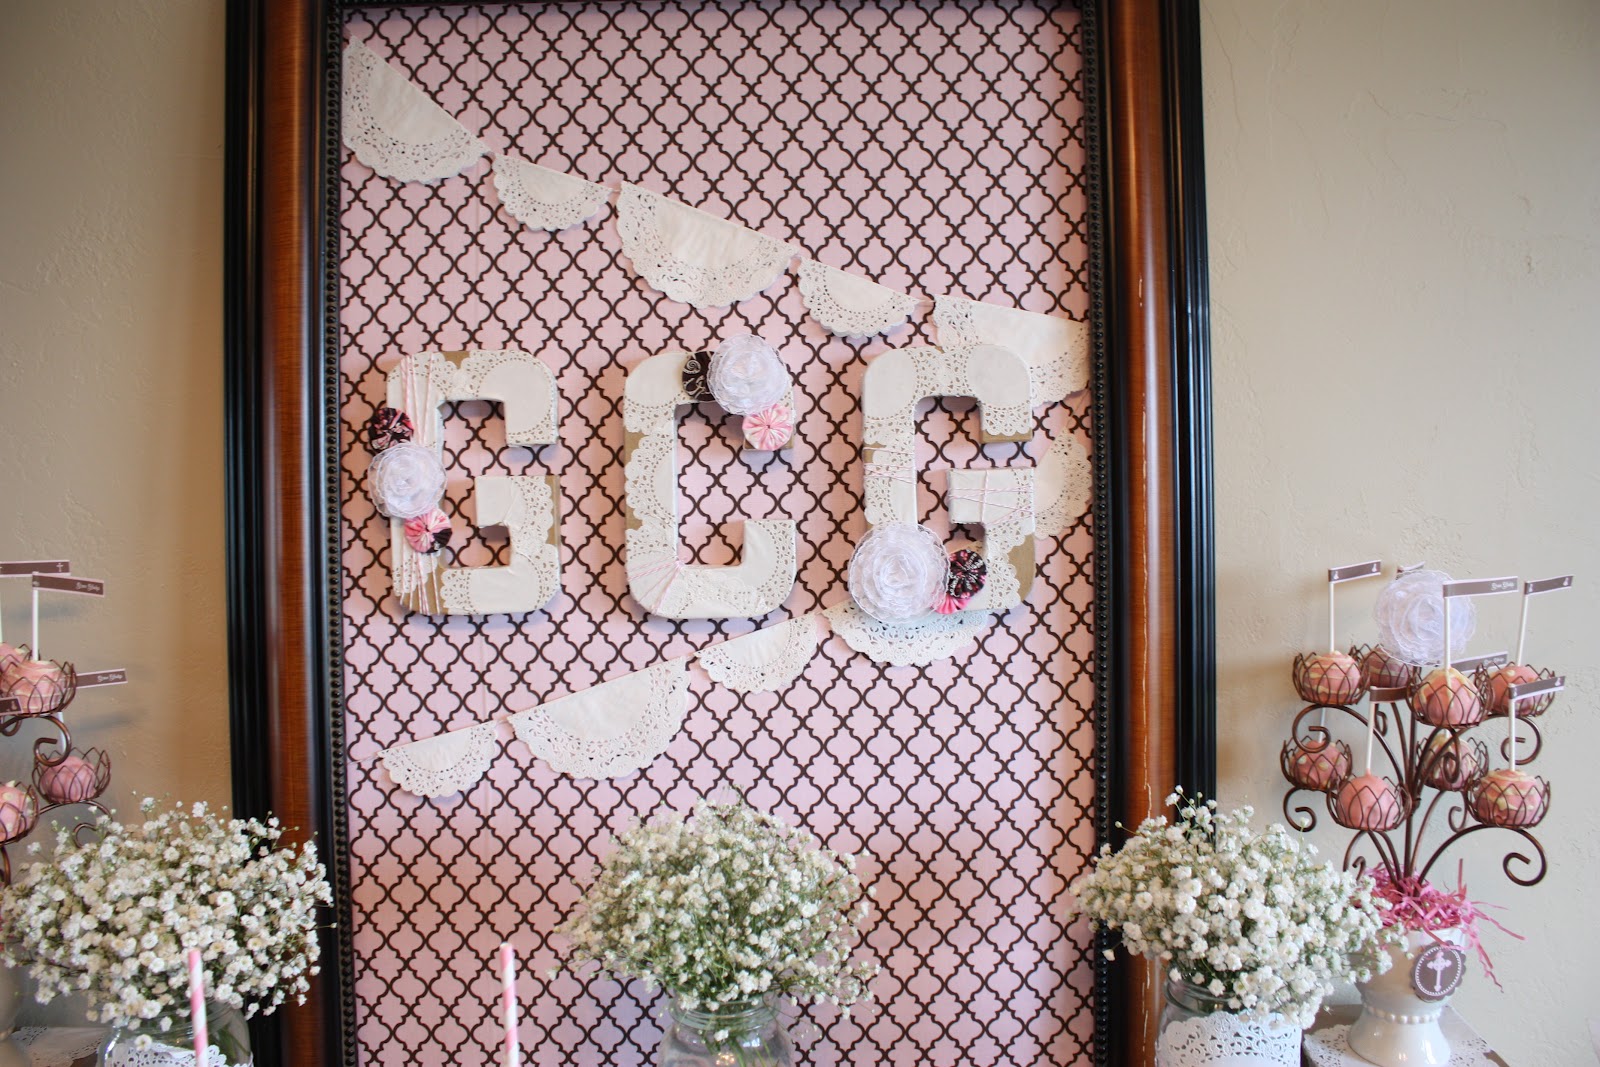
For a DIY tutorial on the backdrop, see here.


I found these pink trays at the Target Dollar Spot.  I used my Silhouette to create the quatrefoil design out of vinyl and then applied it to the front of the trays.  I attached a lace flower to the label.


Kim from Sweeties by Kim graciously made gluten free chocolate covered Oreos for us!  They were wonderful!


The cake pop containers were Easter decorations I found at Kohl's on clearance :)  I simply covered up the bunny on top with a lace flower and covered the bunny on the face of the container with a label.  They fit the cake pops perfectly!


This is my attempt at a cake...  Needless to say the professionals do a much better job!  Grace decided she wanted a Dairy Queen cake.  Seeing as how I couldn't plop a ice cream cake in the middle of a sweets table and that some of our family does not like ice cream cake, I made a chocolate cake.  It tasted better than it looked :)


Happy First Communion Grace!  It was a beautiful day!

Monday, April 23, 2012

Shabby Chic First Communion/8th Birthday - Decorations

If you've looked at any of my blog posts, you will notice that they are picture overloads.  This one is no different!  I think as a DIY / Mom Party Planner, you take extra pride in the work that you do to pull together a special event for your child.  So naturally, it is easy to want to show every last picture, including every angle since one of your projects may look a smidge different at a different angle.  And how knows, your most recent party may get you on some famous party blog (I can always dream, can't I...  Some day!)  And, as a Mom, with no photographic training, my ISO or my Aperture number may be better in one picture versus the other.  Some day, when I have time, I'll take a photography class :)

So, here is a picture overload post of the decorations from Grace's First Communion/8th Birthday party.  Again, the printables are from Carli at Dimple Prints.  All of the other elements, I put together.


So what was your favorite part of the decor?  Mine was the "Blessings for Grace."  Family members were asked to fill out a blessing for Grace for her to keep in her keepsakes to remember the day.  I hope she looks back on the day with as special memories as I will.  Thanks for looking.  Up next, the sweets table :) 

Sunday, April 22, 2012

Happy First Communion Day!

Today was Grace's First Communion. What a perfect day! Grace looked so beautiful and she did a great job doing her reading at mass. Before I post pictures of the party, I thought it appropriate to share a few pics of the day and of my "little" girl who is growing up all too fast!


Thank you to Mother Nature for cooperating!  It was a cool day, but given our early Spring, we were able to get lots of great outdoor pics.  Up next, the celebration :)  Thanks for looking!

Friday, April 20, 2012

First Communion Fireplace Banners

Slowly but surely it is starting to look like a First Communion / 8th Birthday Celebration around here :)  Can I say again without sounding nauseating how much I love the printables from Carli from Dimple Prints!  They are just perfect.  Here is how I used them for a burlap banner and doily banner to decorate the fireplace.  You'll have to excuse my "expert" photography skills!


To make the doily banner, I simply punched out the letters with my 2" scallop punch.  I then glued the letters to the center of the doily, threaded through some baker's twine and simple as that, I had a banner!

To make the burlap banner, I had a left over piece of burlap from a feed sack I used for a home decor project.  I cut it to size, hot glued the paper banner to it, added some festooning with hot glue and then glued a pocket for a wooden dowel I had.  Again, so easy!

Thanks for looking!